Solution Overview
In this phase of the project, the objective is to design a solution that addresses the critical issues faced by vessels operating in remote areas without internet connectivity. The proposed solution is a ruggedized, portable device that provides GPS and essential offline resources to aid in navigation and emergency situations.
Project Requirements
- Magnetic USB-C ports to make connections more secure and durable, reducing wear and tear.
- A built-in tool drawer will be included for easy access to essential tools, making repairs or adjustments more convenient.
- A rugged button will be implemented to switch between screens, allowing for a simple and reliable user interface in harsh environments.
- The battery pack will be swappable, with one magnetic plug, to enable quick and easy battery replacement while maintaining a secure connection.
- The interior will provide dedicated storage for small tools, ensuring that they remain accessible and organized during transport.
- An exhaust fan will be installed to prevent overheating and ensure stable performance during extended use.
- A physical library of SD card operating systems will be integrated to facilitate switching between different system environments offline.
- The battery life will support 24 hours of continuous use, ensuring the device remains operational for long periods without recharging.
- The device will be waterproof when the container is closed, and the internal components will be water-resistant to handle exposure to moisture.
- The case will float on water, preventing the device from sinking if dropped overboard or in water environments.
- A secondary cursor input method will be included besides the touchscreen, allowing for more flexibility in input options.
- A dedicated drawer or container will be built for SD card storage, providing easy access and organization.
- A fast-charge USB-C cable with a retractable mechanism will be used for input/output, allowing for quick and efficient charging.
- The device will feature a full-size mechanical keyboard for enhanced typing comfort and durability, even in harsh environments.
- Built-in speakers will provide audio output for media playback or system notifications, ensuring full functionality without external devices.
Decision Matrix
| Parameter | Compact Build | Score | Larger Build | Score |
| Decision Matrix | ||||
| Portability | Highly portable. The compact setup fits easily into a backpack and is convenient for travel, as shown in the train photo. | 10 | Bulkier, with a larger screen, keyboard, and solar panel. Less convenient to carry and would need a larger bag or case. | 4 |
| Battery Life | Smaller battery gives around 2-3 hours of use, which works for shorter tasks but isn’t ideal for long sessions without charging. | 6 | The 70,000mAh battery and solar panel provide extended battery life, around 6-8 hours or more, ideal for prolonged use. | 8 |
| Price | Total cost is around $200, keeping it relatively affordable with fewer components. | 9 | Higher cost due to large battery, full-size keyboard, and solar panel. Around $500 total for added functionality. | 6 |
| Modularity | Limited flexibility because of the compact build. Not much room for extra parts without reworking the layout, as shown by the tight cable management. | 6 | The larger build allows for more flexibility to add or swap components, like upgrading the battery or changing the screen and keyboard. | 8 |
| Ease of Use | The small touchscreen and folding keyboard are adequate for quick tasks, though they might feel cramped during longer sessions. | 6 | Full-size keyboard and 10-inch screen make it more comfortable for extended work or complex tasks like coding. | 7 |
| Screen & Keyboard Size | The small screen and compact keyboard work for basic tasks but may be limiting for tasks needing more screen space. | 6 | Larger screen and full-size keyboard offer a more comfortable setup, better for detailed work and multitasking. | 10 |
| Durability | Compact and well-protected in a rugged case with foam padding, suitable for travel and handling light impacts. | 8 | The rugged case provides good protection, but the additional components (dual screens, solar panel) introduce more potential vulnerabilities. | 7 |
Daily Updates
Day 1: Initial Components Arrive
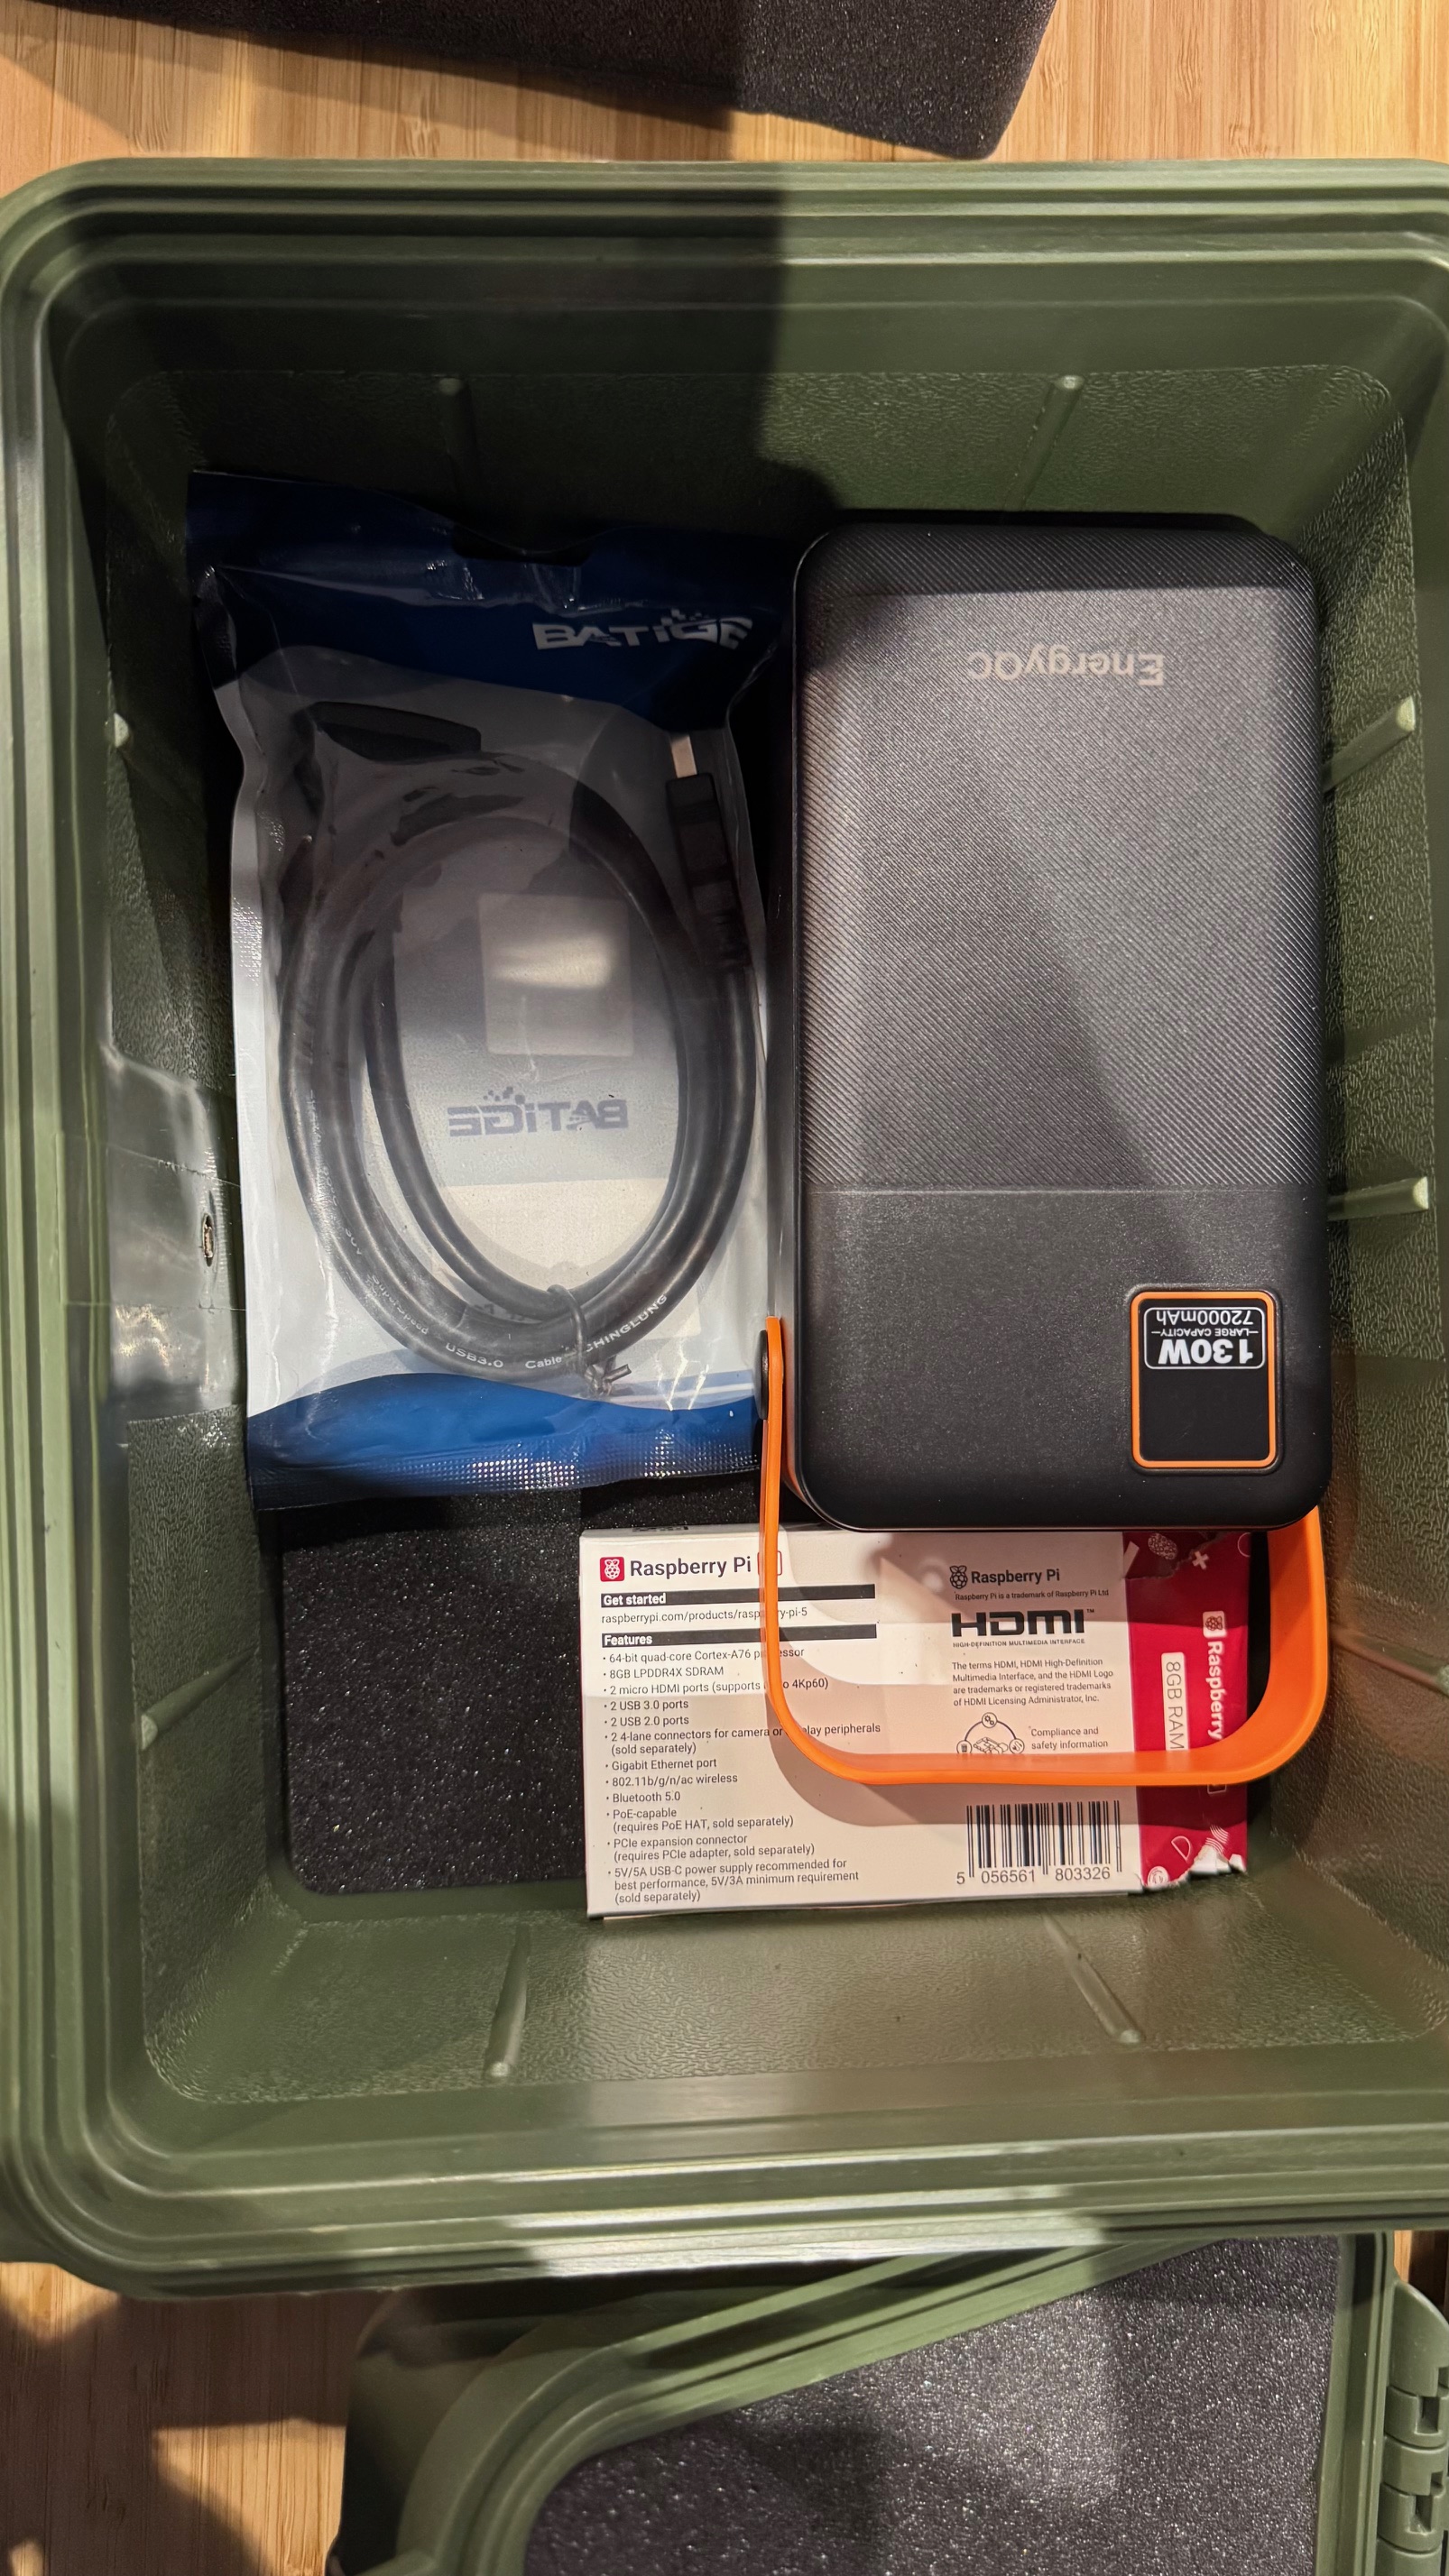
Today, the Raspberry Pi 5, 72000mAh power bank, and HDMI cables came in. We laid them out in the case to get a feel for how much space they would take up.
Day 2: Portable HDMI Monitor Delivered
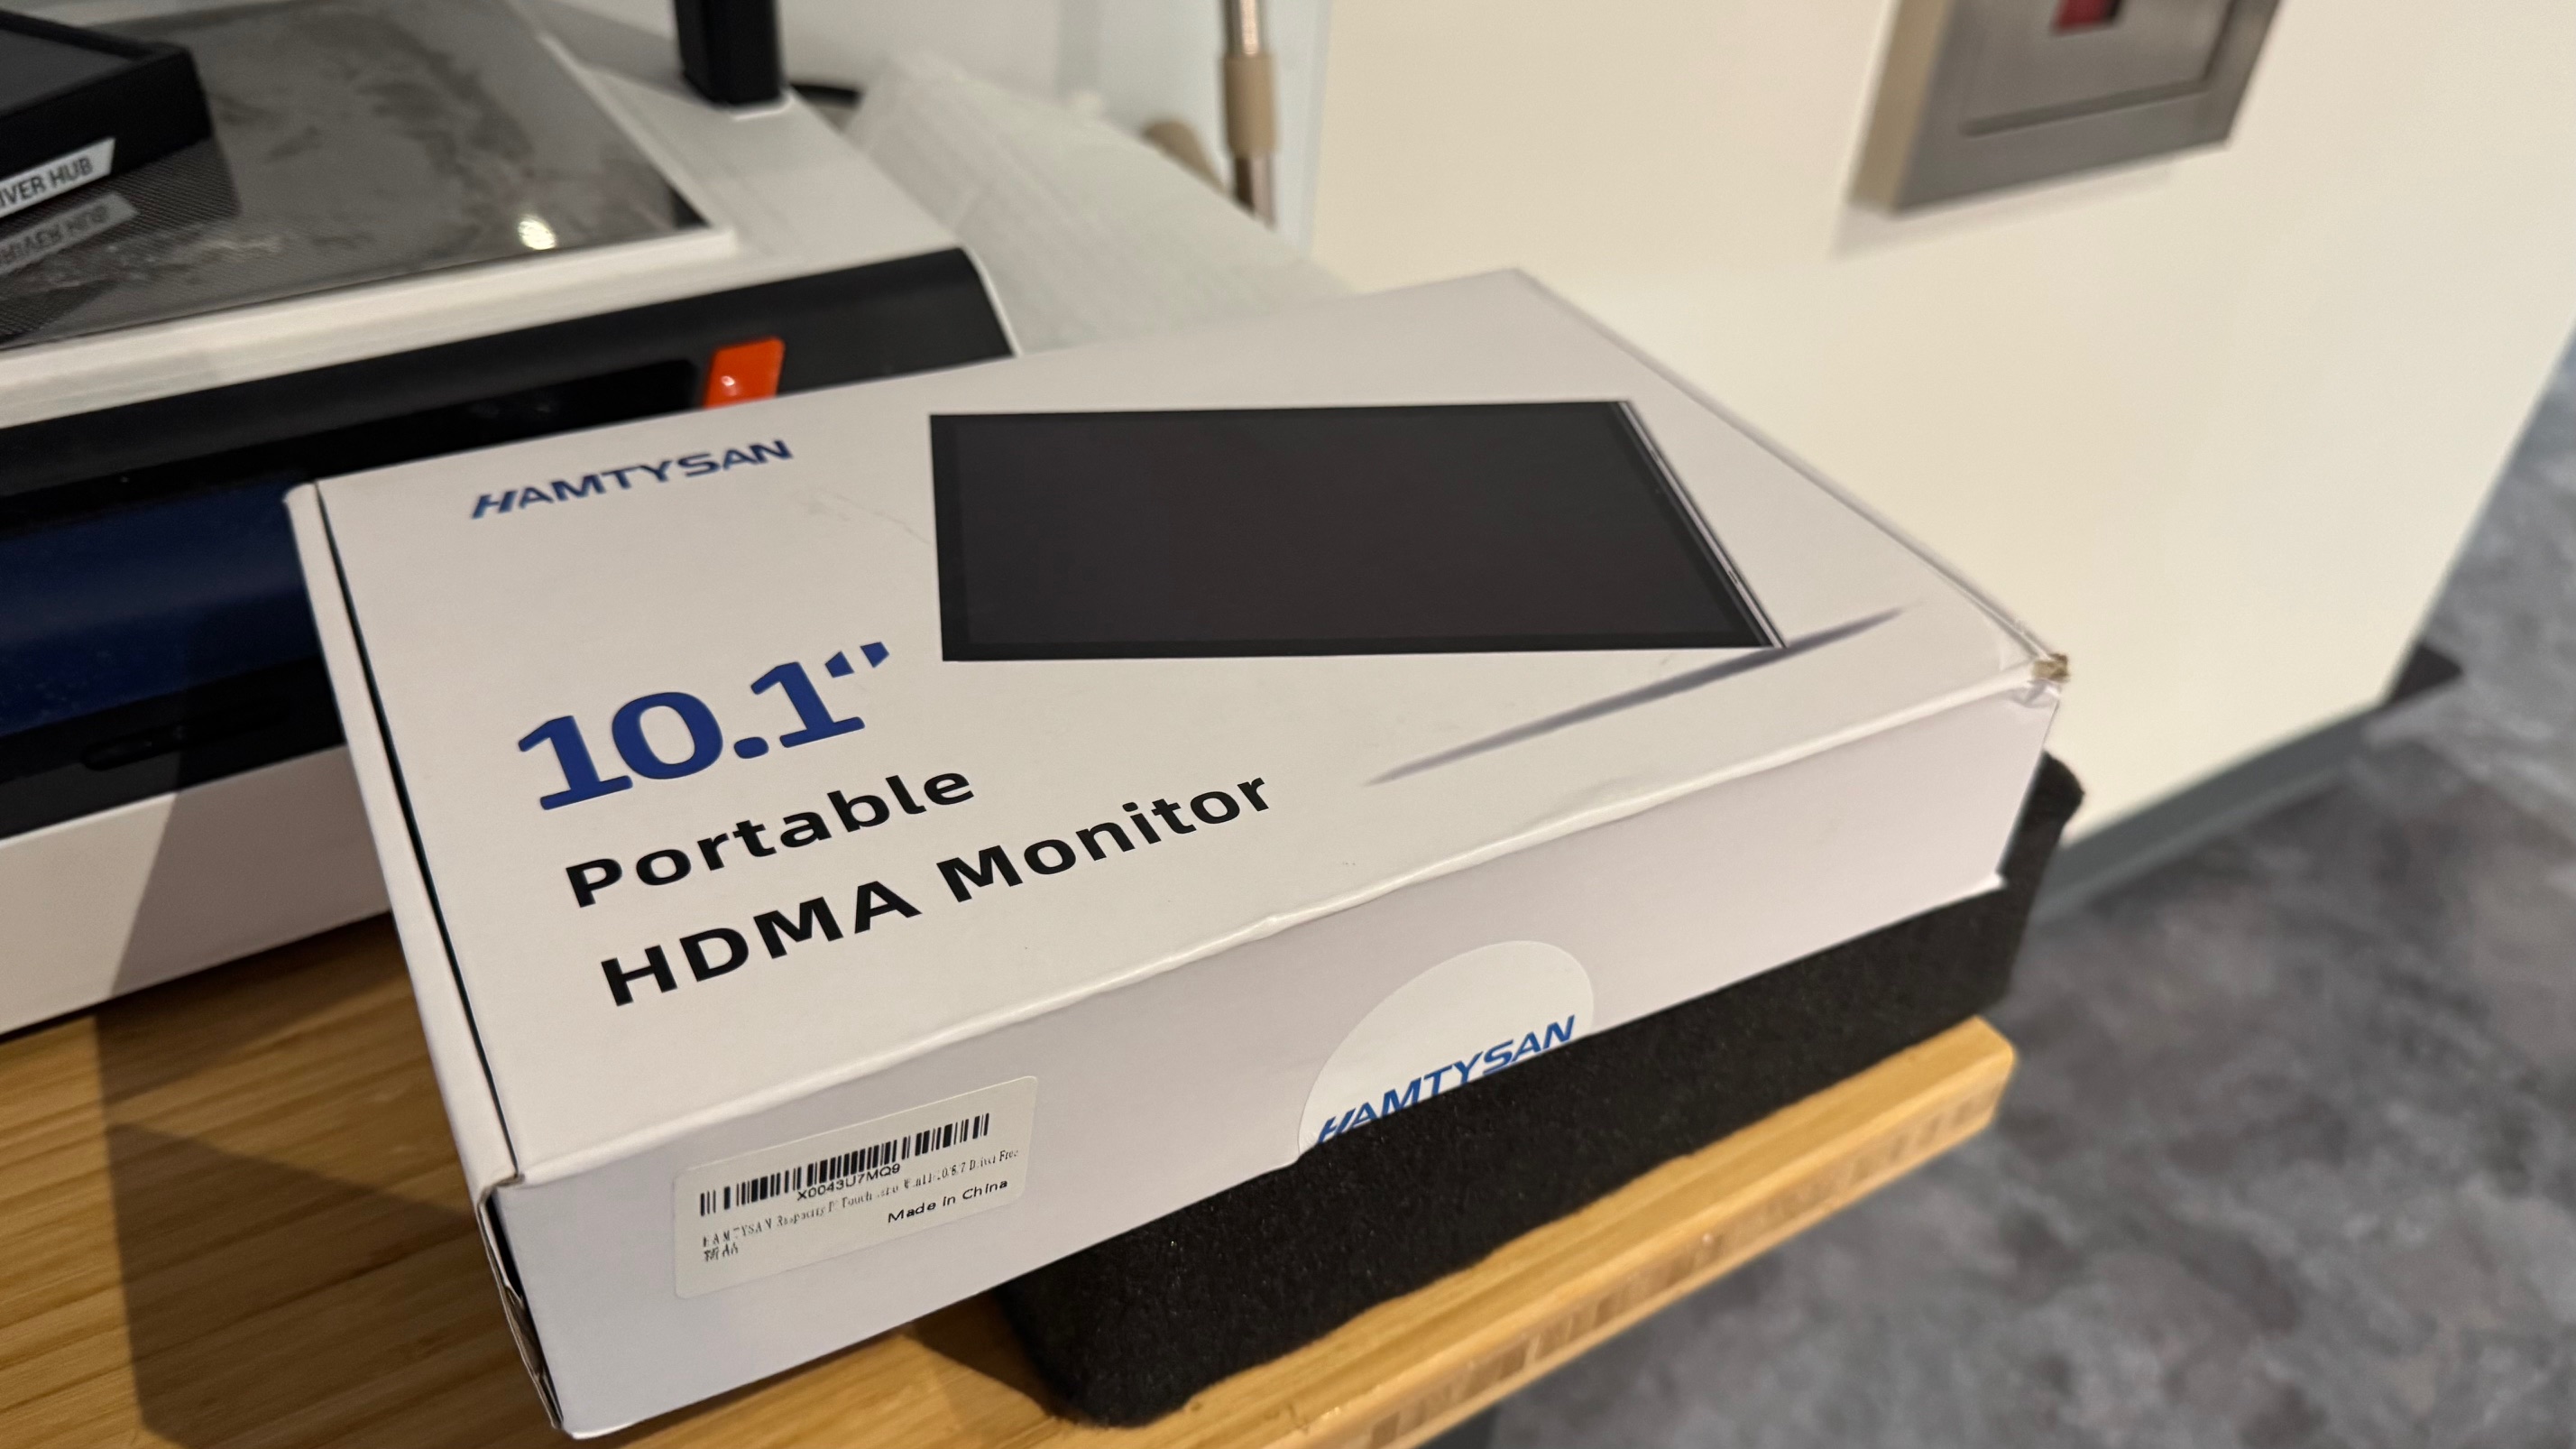
The 10.1-inch HDMI monitor arrived today. We connected it to the Raspberry Pi, and it worked perfectly. It’s small enough to fit well in the case but still large enough to be practical for tasks.
Day 3: High-Capacity Power Supply Unboxing
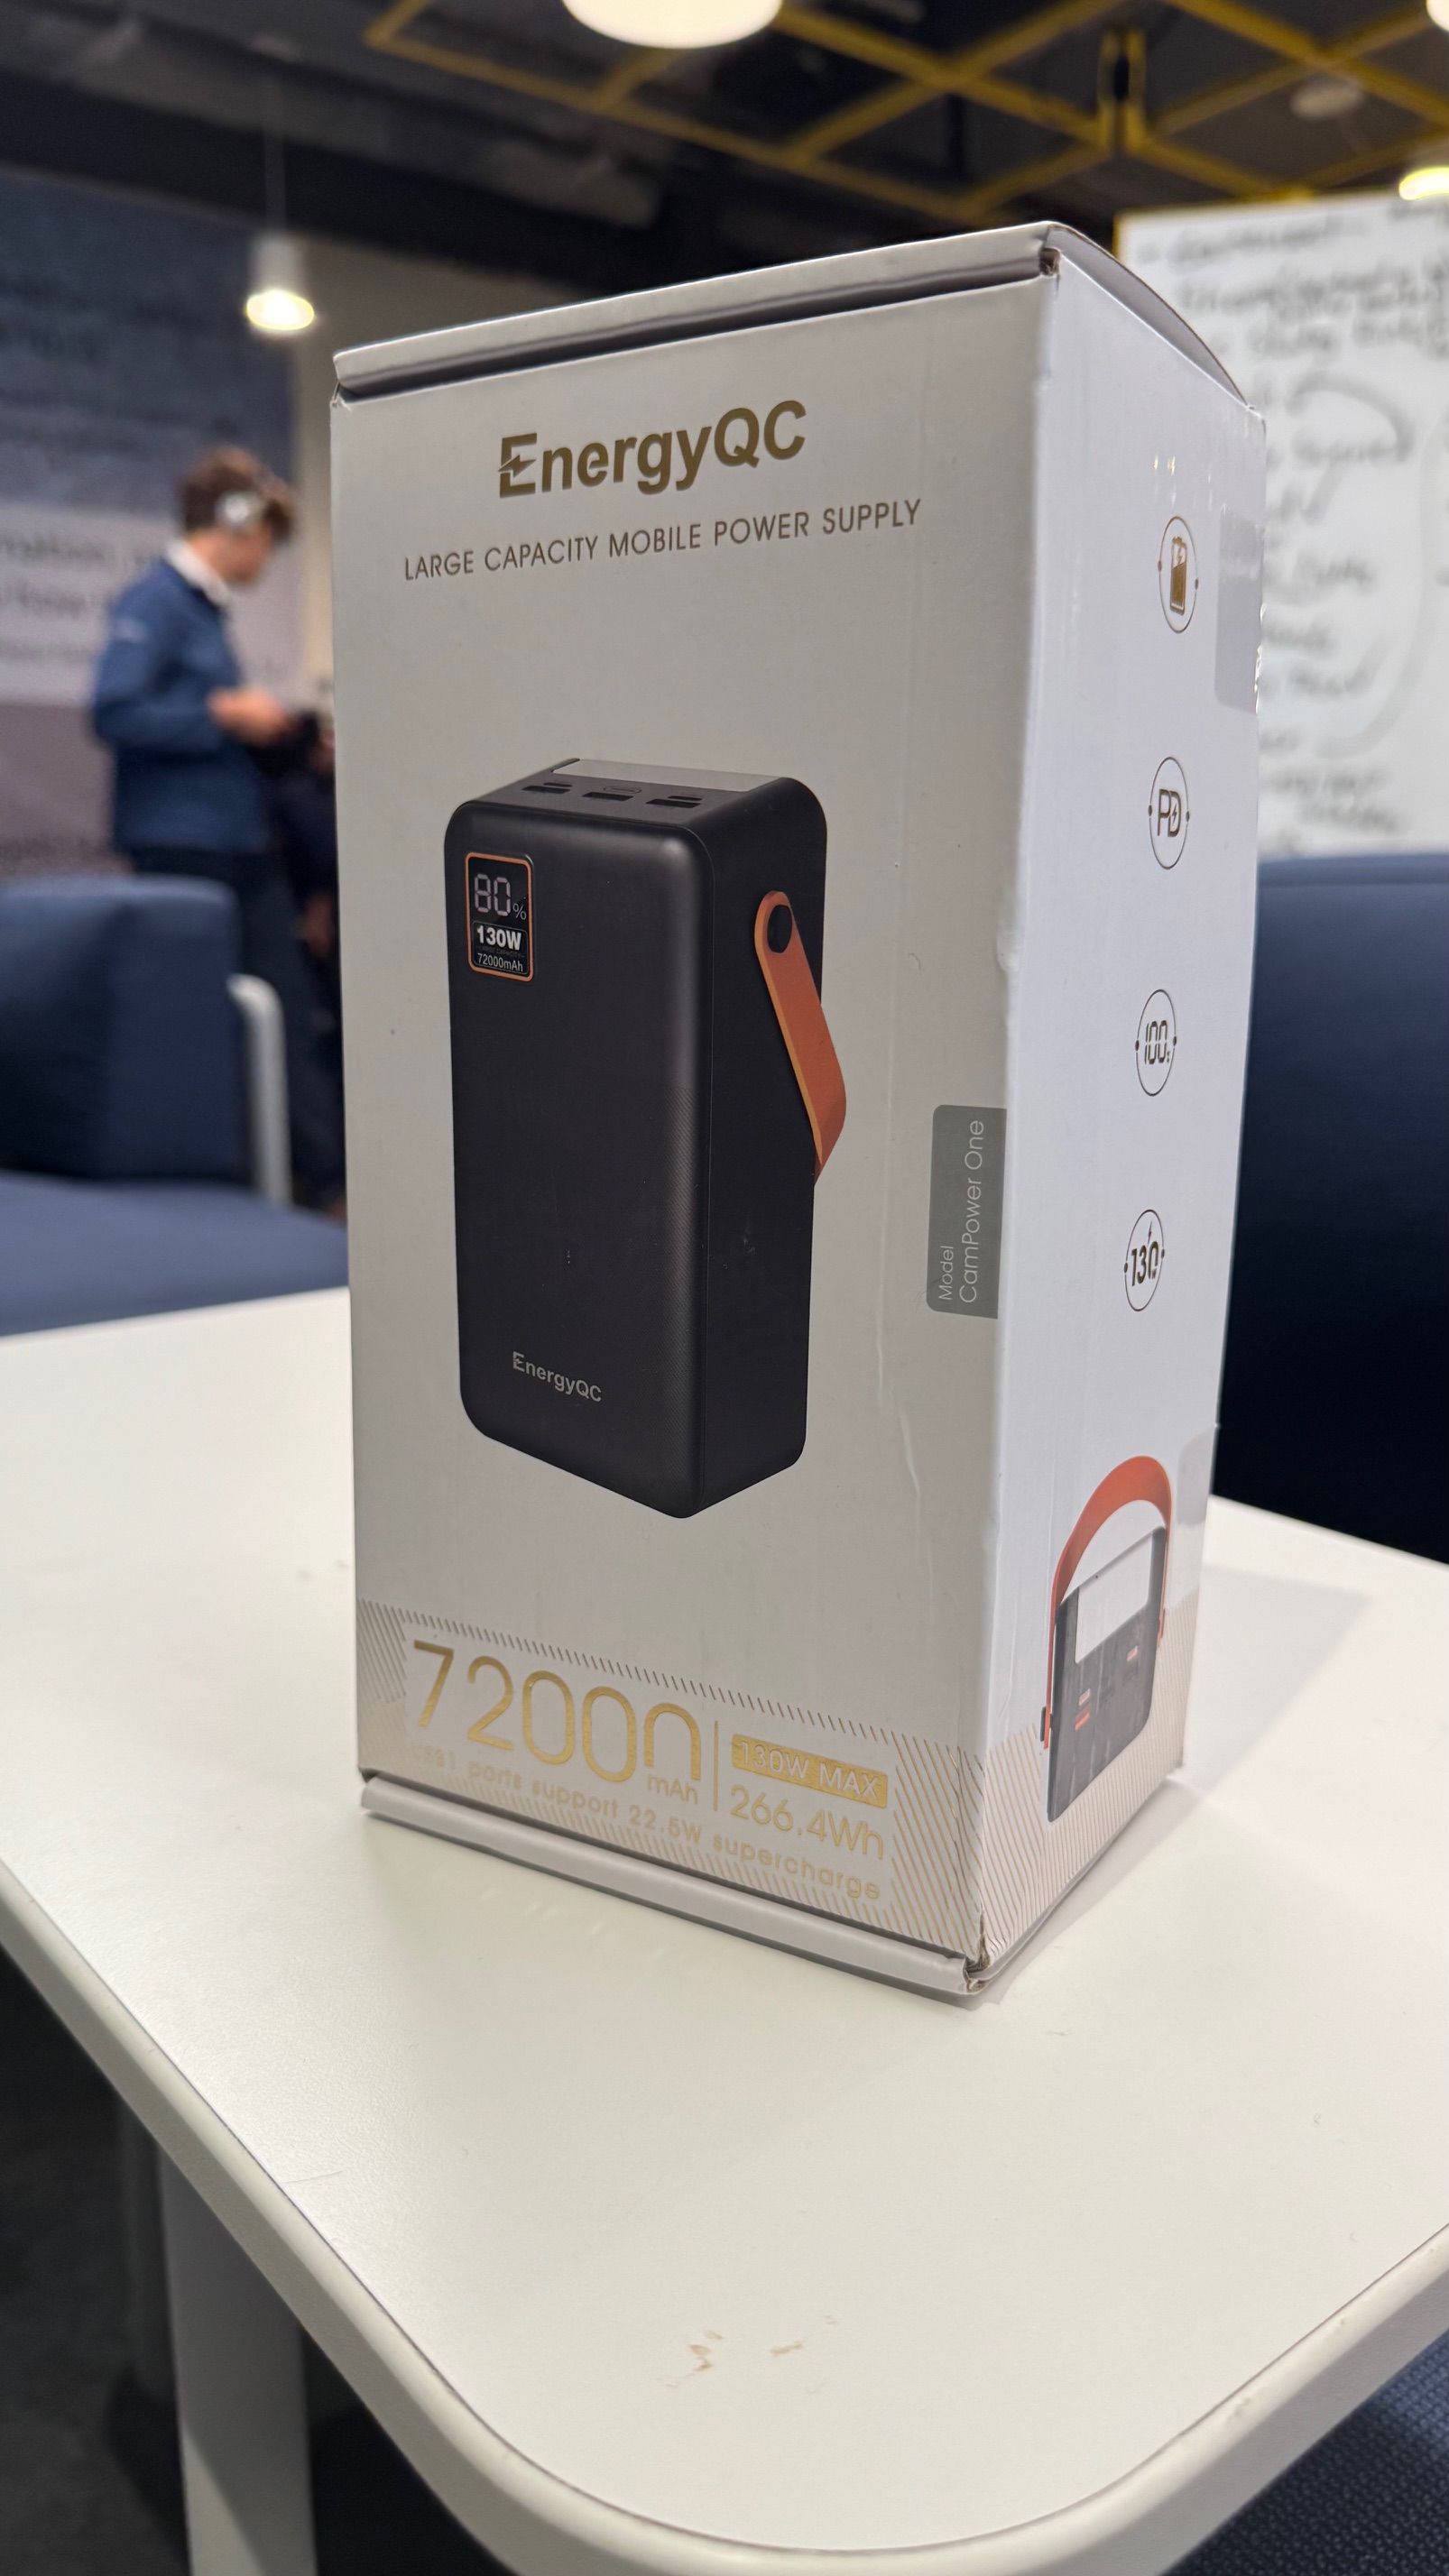
We tested how the power bank fits in the case today. It’s a bit bigger and heavier than we expected, but it will still work. It definitely adds some weight to the setup, but the rugged case should handle it.
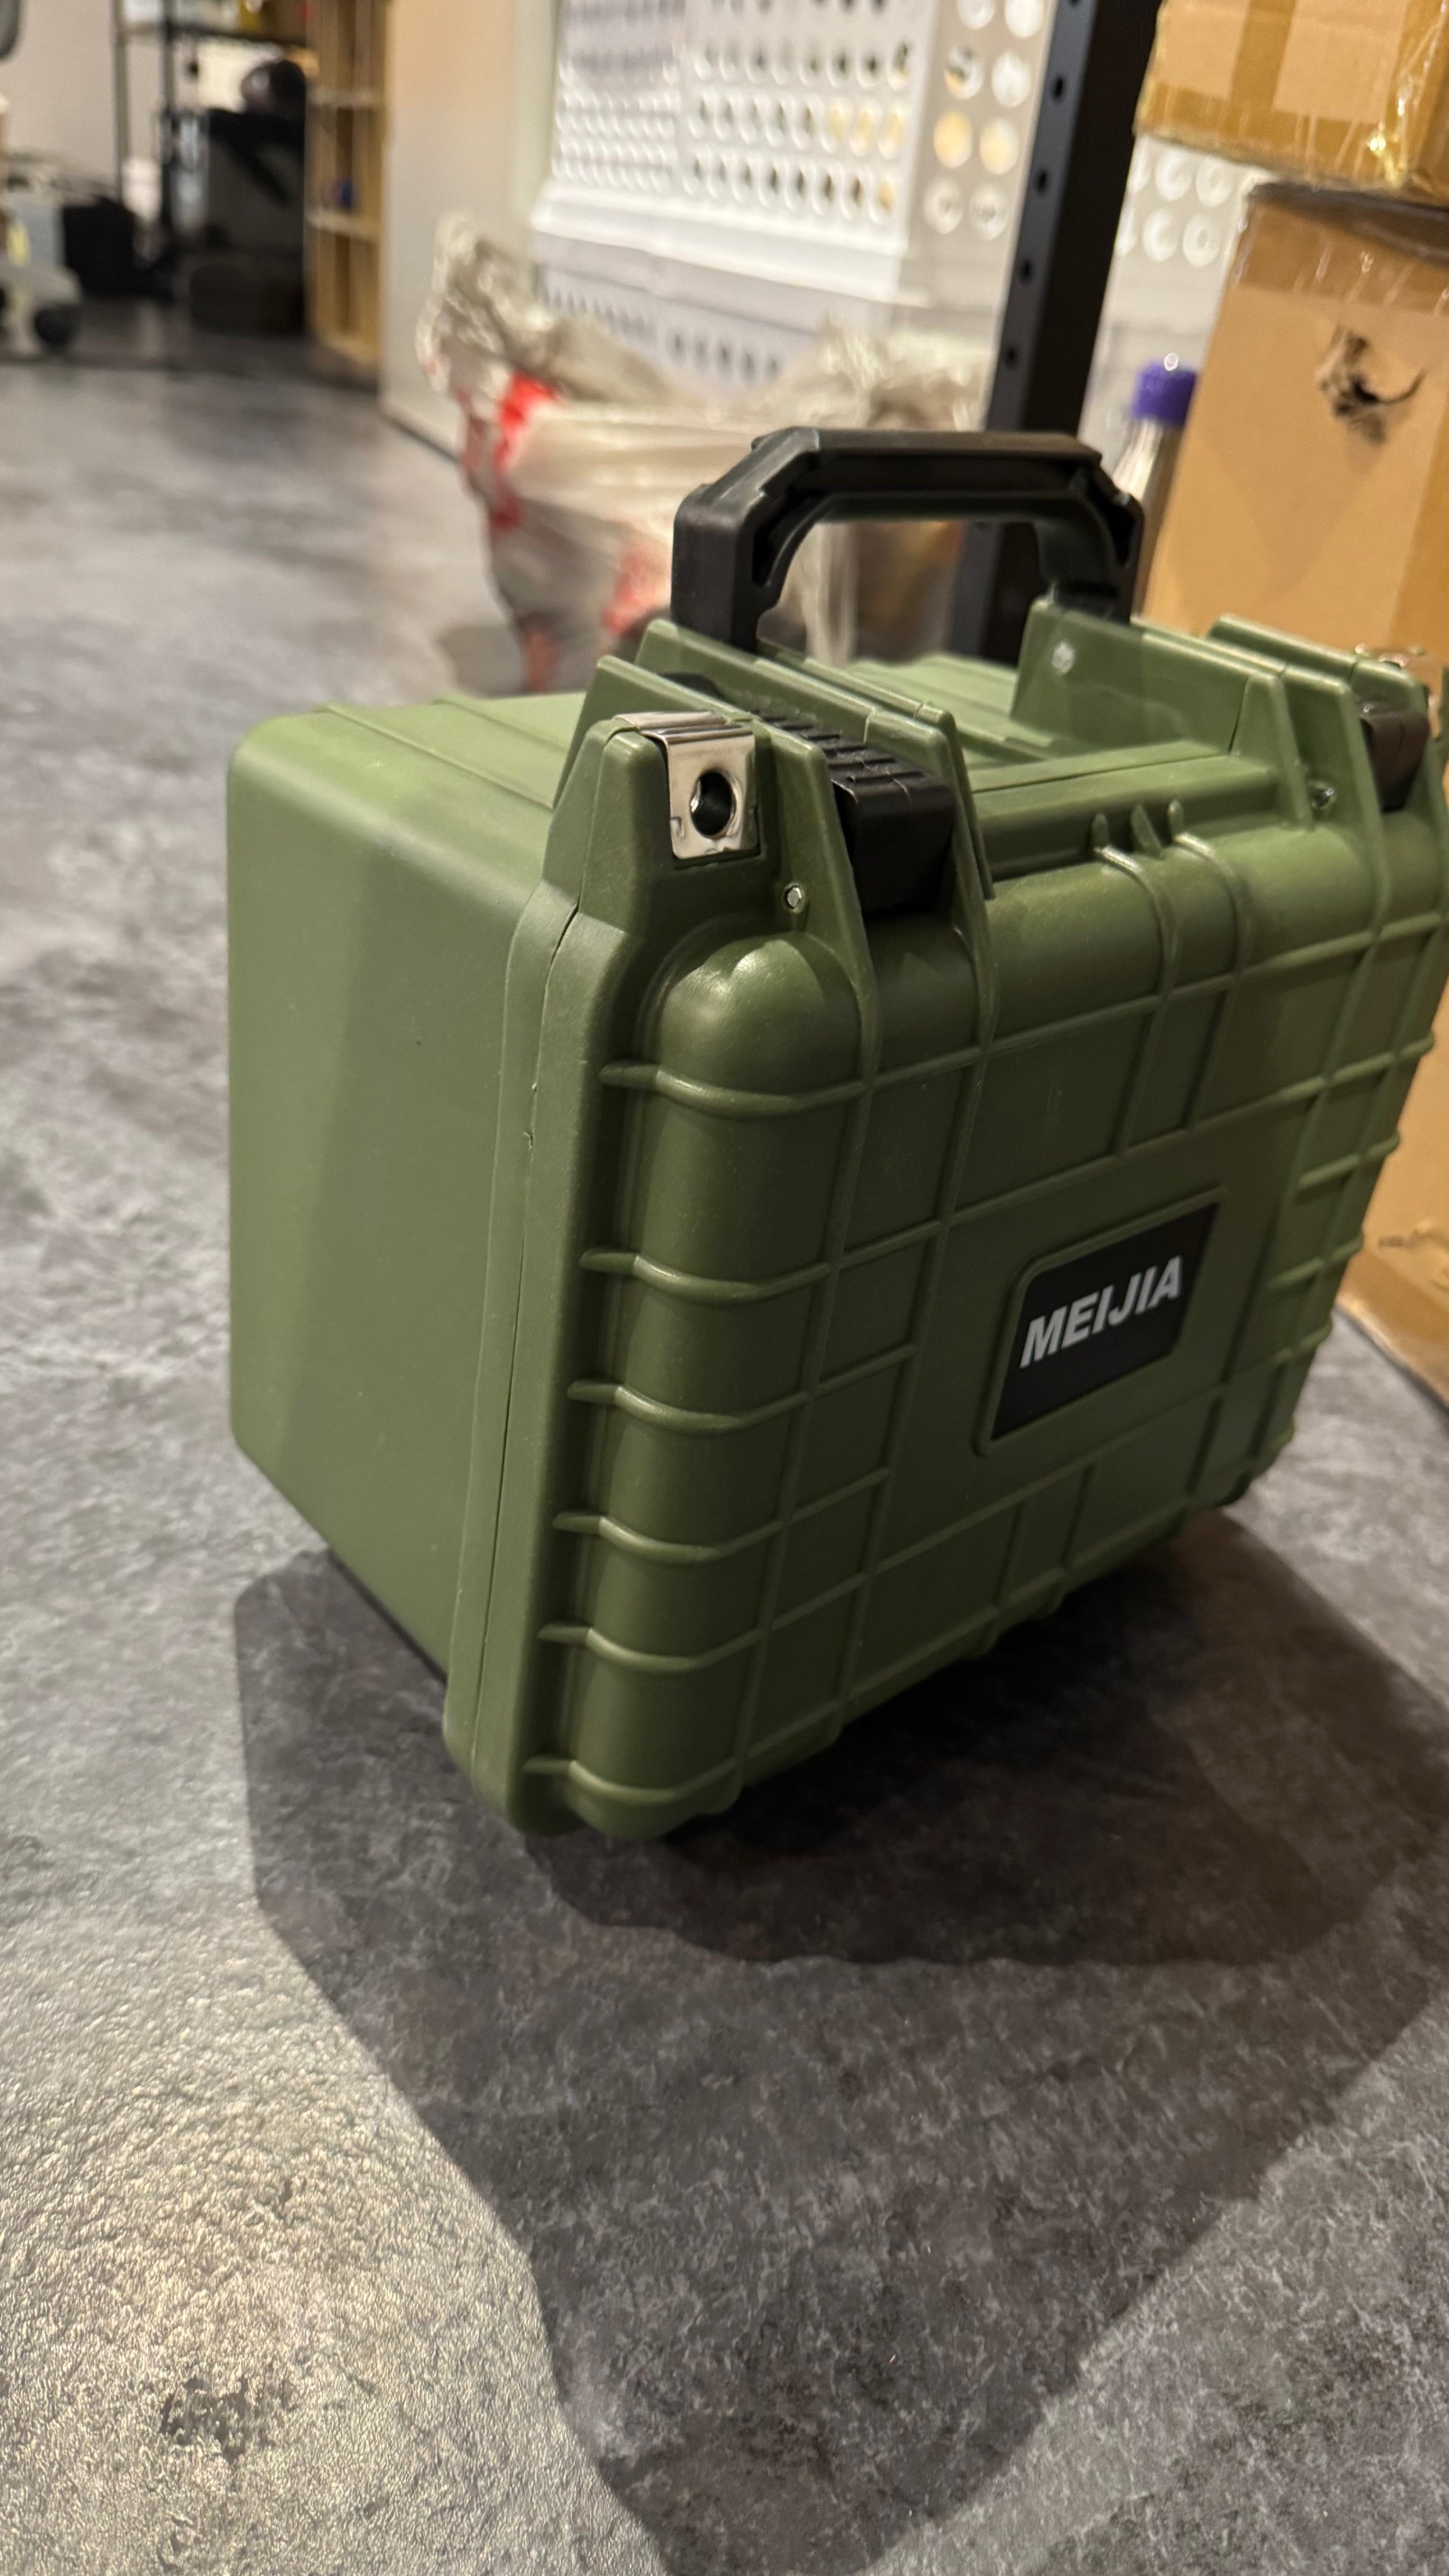
Day 4: Rugged Case Received
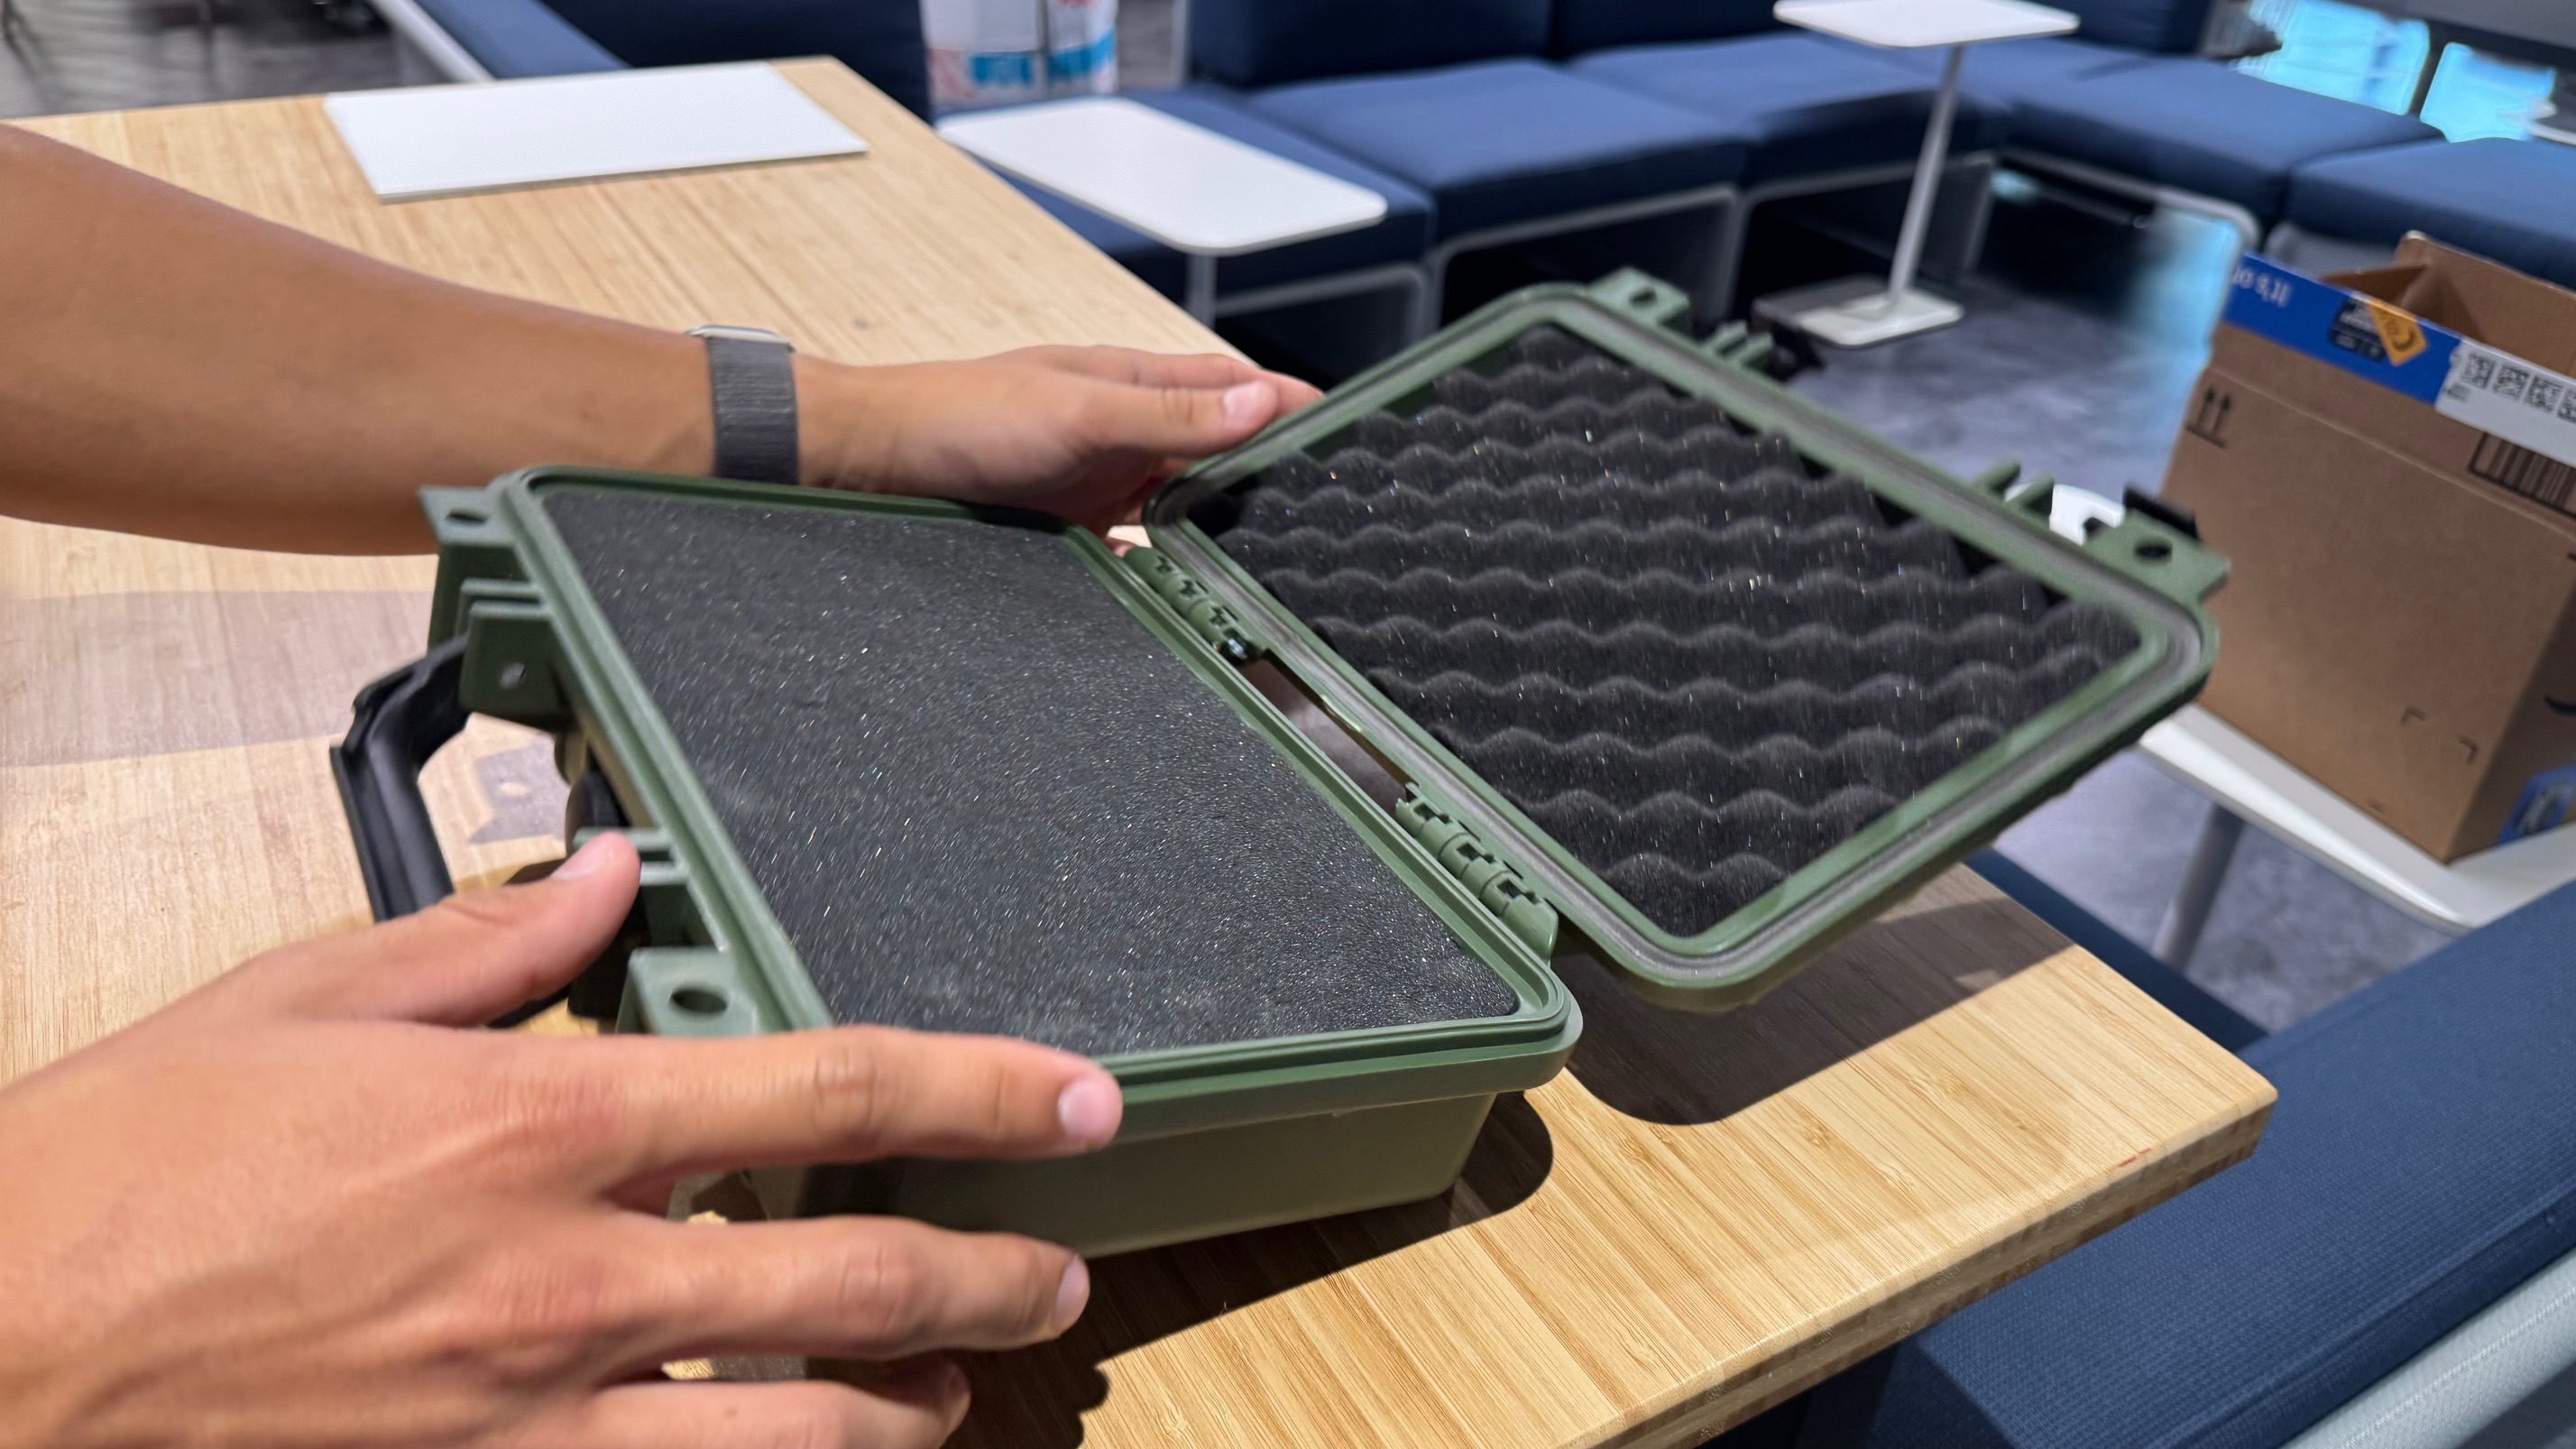
The rugged case came in today. It’s tough and has foam padding to keep everything secure. We spent some time testing different layouts to figure out the best way to organize the components inside.
Day 5: Fully Assembled Rugged Case
Today, we debated on which case we should use. They are both equally rigid, but we decided to use the bigger case because the depth will give us more room for batteries and other components. Next time, we will determine the layout of all the parts.
Day 6: Battery Completion

Today, Marcus did an amazing job of wiring up the battery to give us a circuit that runs in parallel with a total of 77,000mAh capacity!
Day 7: Filming PDR Video
Today was a shorter class and my group recorded the different clips that we will later edit and put together to create a PDR Video Presentation for the final project.
Day 8: CAD Day!
Today, we finally began the CAD for the main case assembly. We will be dividing up the components based on the complexity of the separate parts and our own individual modeling abilities.
Day 9: CAD for Personal Project
Today I took some time to work on the CAD for my personal project, a portable 3D-Printer that fits inside a Pelican case and can be ready to go in under a minute
Day 10: Insufficient Battery Output
Today we diagnosed the issue where we weren't getting enough power from the battery to turn on the Pi or the screen. I think it is because the USB-C cable has weak connections to the boards omn both ends.
Day 11: Fixing the Weak Battery Output
We discovered that a poorly wired USB-C cable was causing a loss in voltage. I solved this by wiring the voltage boost PCB to a USB-C breakout board.
Day 12: CAD Ain't Too Bad
Today we worked on the CAD for the cyberdeck. We completed the battery model and the screen model.
Day 13: CAD is Rad
We modelled the case fully, accounting for filleted corners and the 2.5 degree sloping walls. The next step is dropping in the individual components on a group document to work on it together.